gamerman 5000
Developer
Without a doubt, it could be said that this emulator is currently the best in terms of super Nintendo emulation that exists for the ps2.
In this tutorial we will learn how to download the emulator preparing the necessary files to run it and then we will create an iso image that will be used in Open PS2 Loader like any other PS2 game.
Downloading the emulator.
1.- To download the emulator we click on any of the following links:
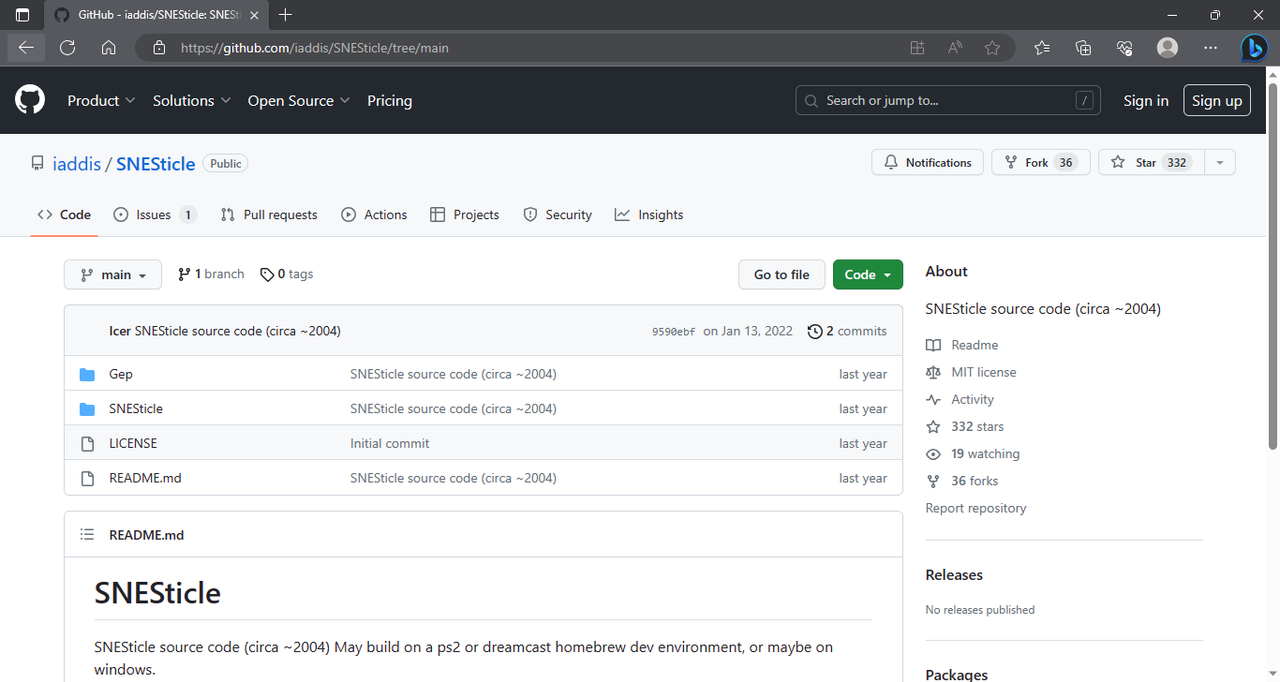
2.-We click on "code/Download ZIP".

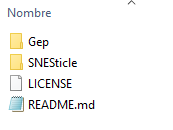
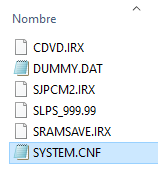
3.-The file with the name "SNESticle-main.zip" will be downloaded, which we will unzip and it will be as follows:
4.-Create a folder where we will place the necessary files for the emulator to work. In my case, I will name it "senesticle files".
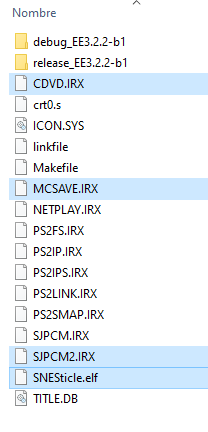
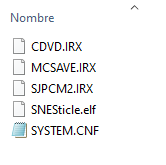
5.- From the file that we unzip, we navigate in the following folders: "SNESticle main\SNESticle\Project\ps2". In this folder we are going to copy the files with the following names "CDVD.IRX", "MCSAVE.IRX", "SJPCM2.IRX", "SNESticle.elf" and we place them in the folder that we created in my case "senesticle files" .
6.- From the file that we unzip, we navigate in the following folders "SNESticle-main\SNESticle\Data\ps2\CD". In this folder we copy the file with the name "SYSTEM.CNF" and we place it in the folder that we created in my case "senesticle files".
7.- At the end, the folder that we created in my case with the name "senesticle files" should look as follows:
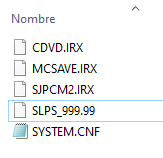
8.- We rename the file "SNESticle.elf" with the name "SLPS_999.99" and we remove the "elf" extension, now our folder will look as follows:
9.- Now we only have to place our respective folders where we have our games in the same folder that we had created in my case "senesticle files" and it should look like this:
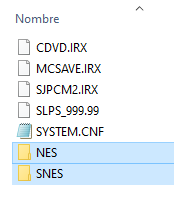
Note: roms for snes games must have the extension "smc" or they will not be recognized by the emulator.
Installing the "BurnAware Free" program
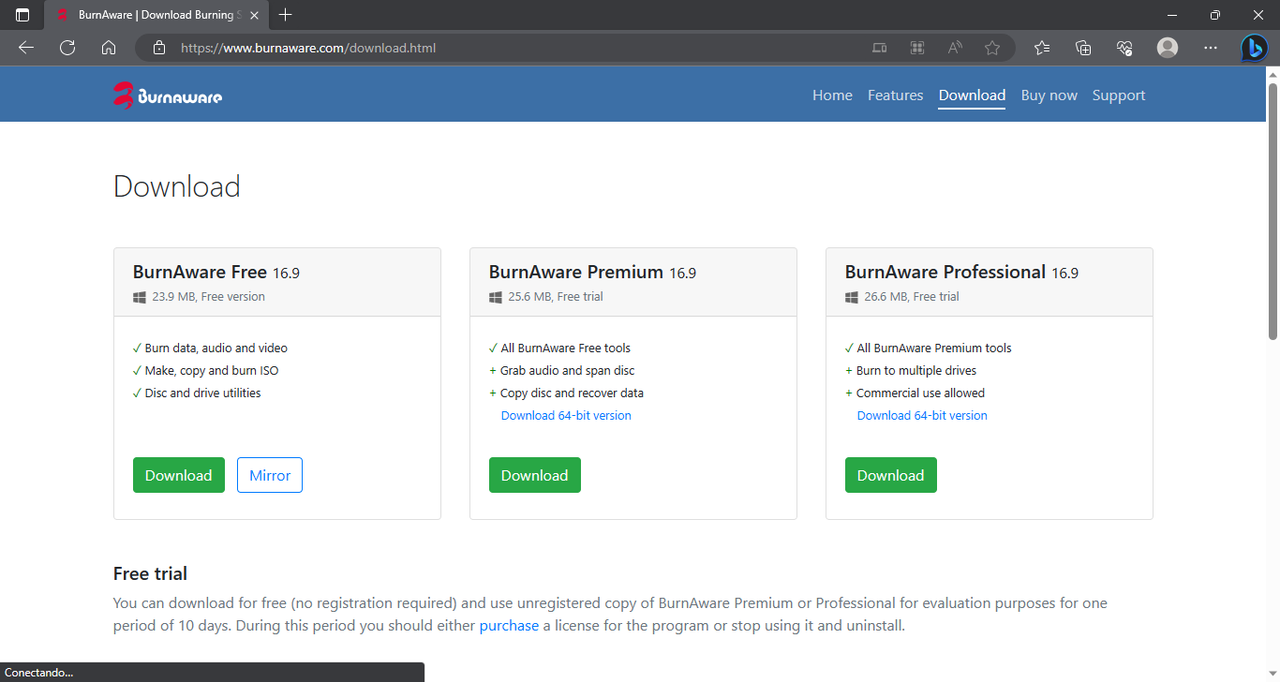
10.- To create our image in "iso" format we are going to use a free program called "BurnAware Free", for this we click on the following link and download the free version:
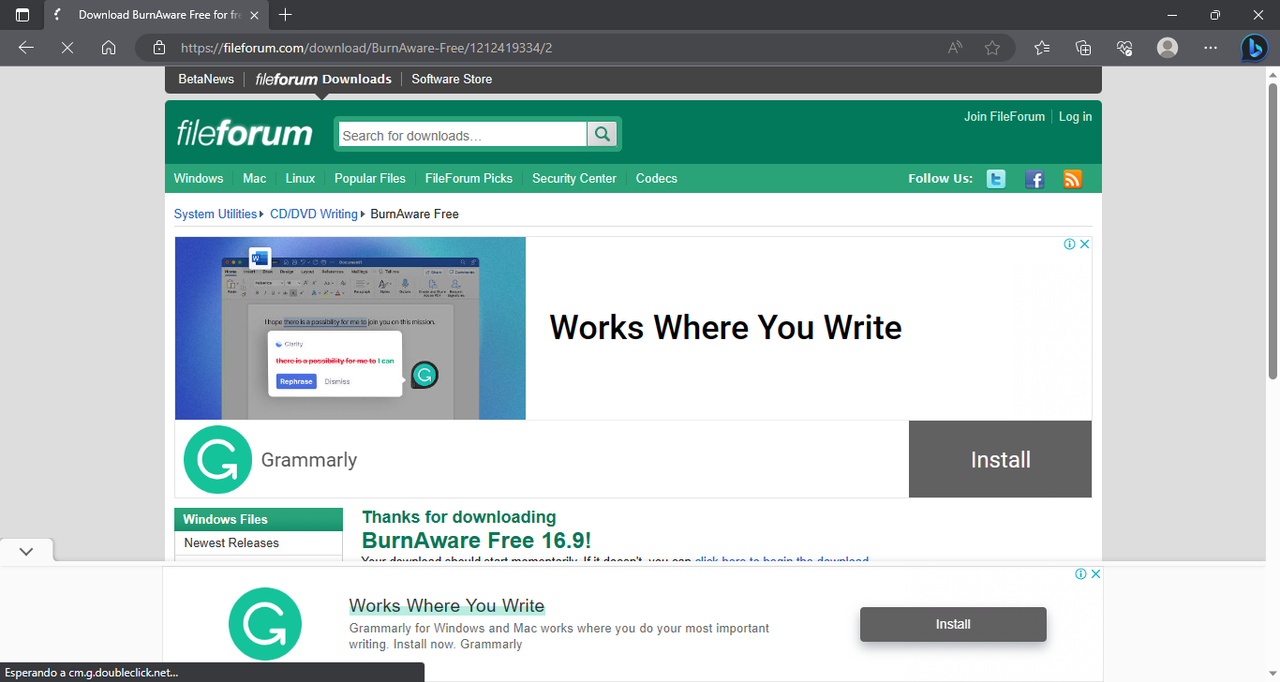
11.-It will take us to the next page where the installer will be downloaded automatically after a few seconds.
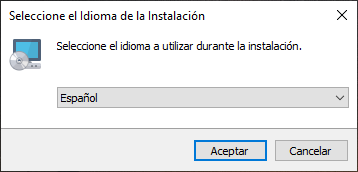
12.-We run the installer and select our language in my case "Spanish" and click accept.
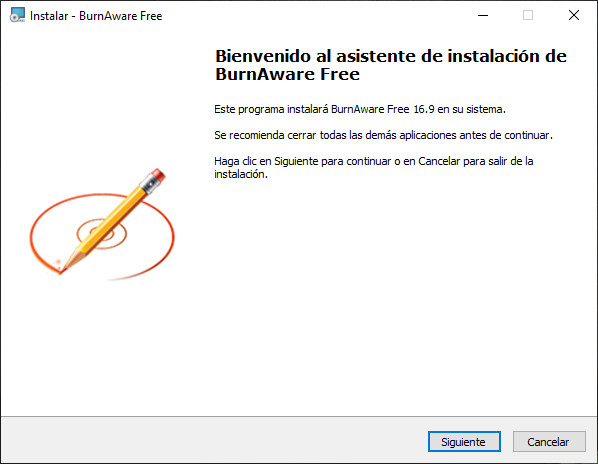
13.-The program installation wizard will appear and click on Next.
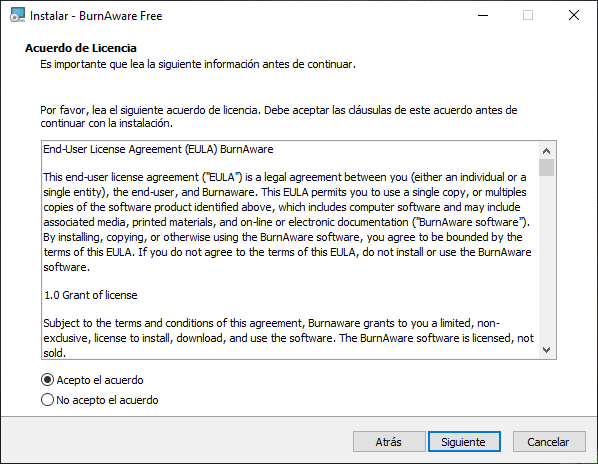
14.-After reading the license agreement we accept and click next.
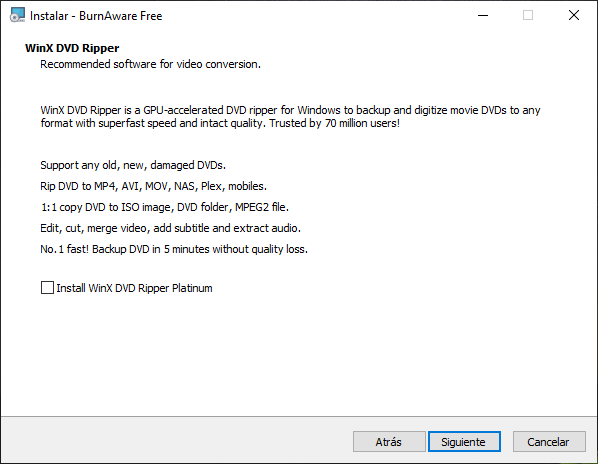
15.- For this project we do not need to install "Winx DVD Ripper" so we uncheck it and click next.
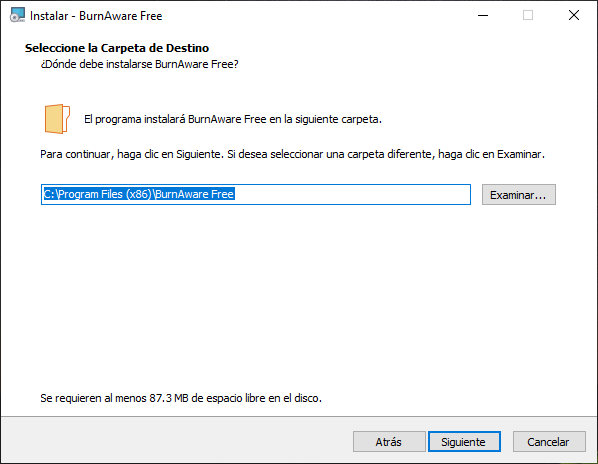
16.- We leave the installation path that the same program recommends and click on next.
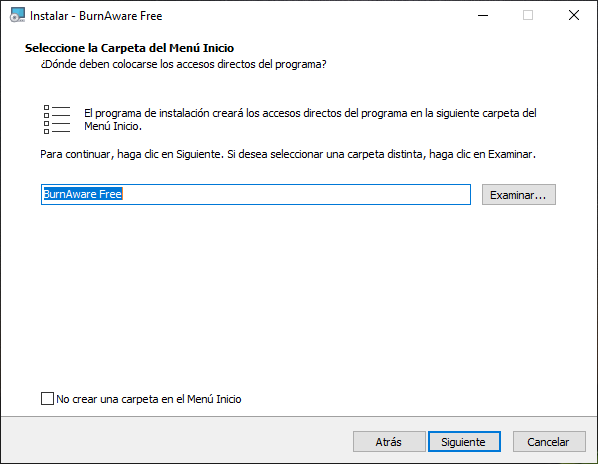
17.- If you do not want a start menu folder, uncheck it and press Next.
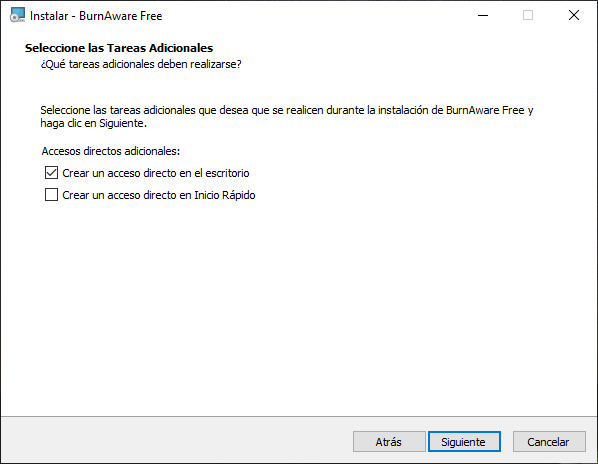
18.- If you do not want to create a shortcut on the desktop, uncheck the box in my case I will leave it activated and I will deactivate the option to create a shortcut in the quick start, click next.
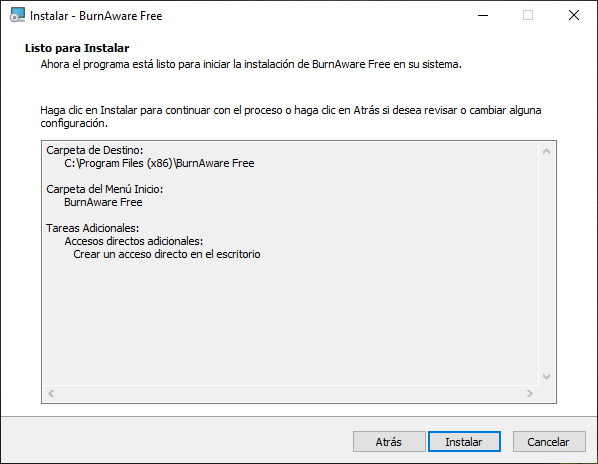
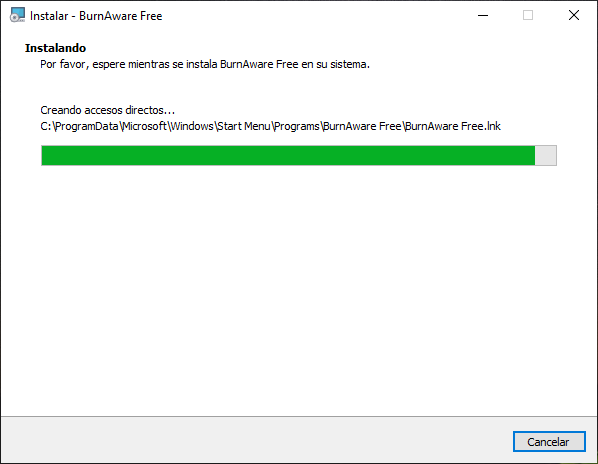
19.- Now we only have to click on "install" and wait for the installation wizard to finish.
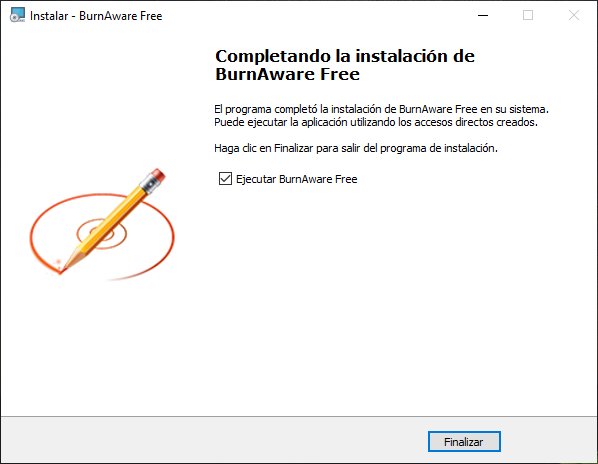
20.- When it has finished, we leave "run BurnAware Free" activated and click finish.
Creating the ISO image
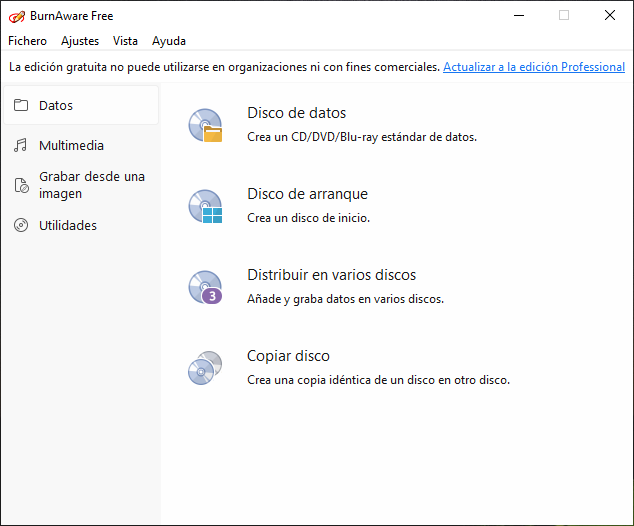
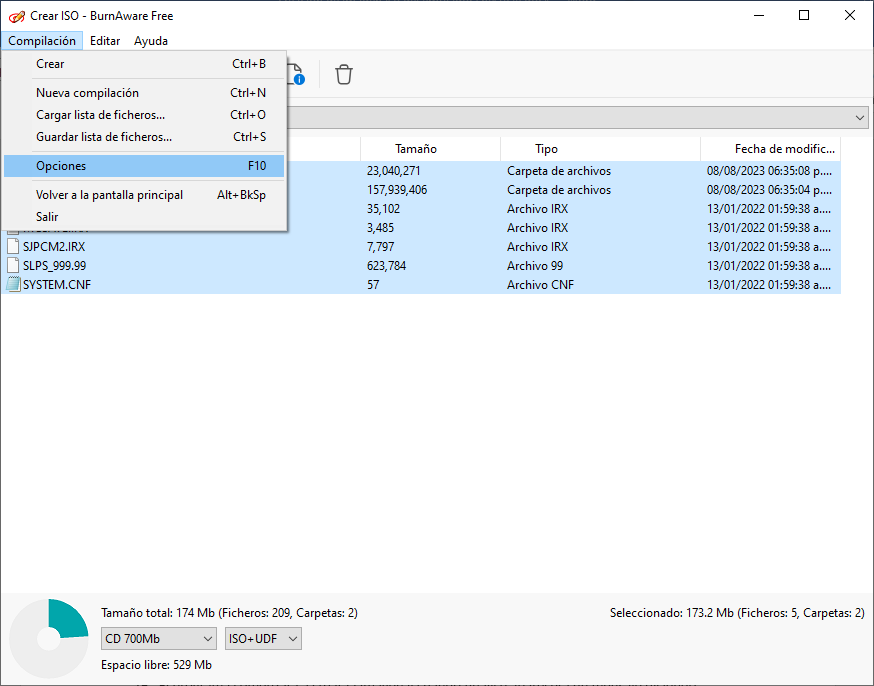
21.- We will see the interface of the program as shown in the image:
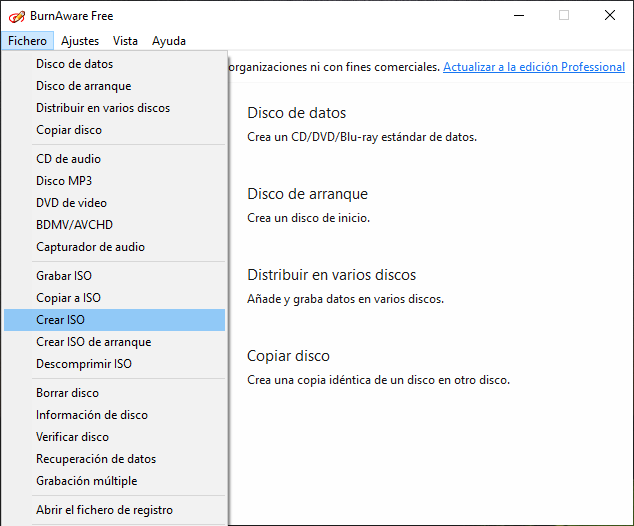
22.-Click on "File/Create ISO".
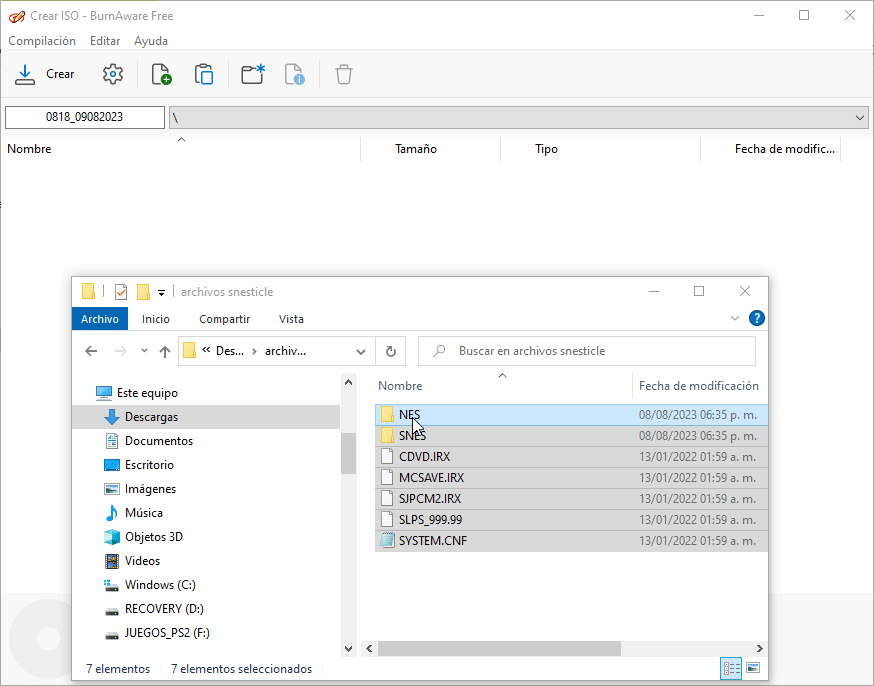
23.-There are three ways to add our files from the "Edit/Add files" menu by clicking on "add files" inside the white box, or simply dragging them to the white box, in my case I will use the latter because it is the most fast.
24.- If you want to create an ISO for DVD, you can select this option at the bottom, in my case I will create a CD since I don't have many game roms, we select the "ISO+UDF" option.

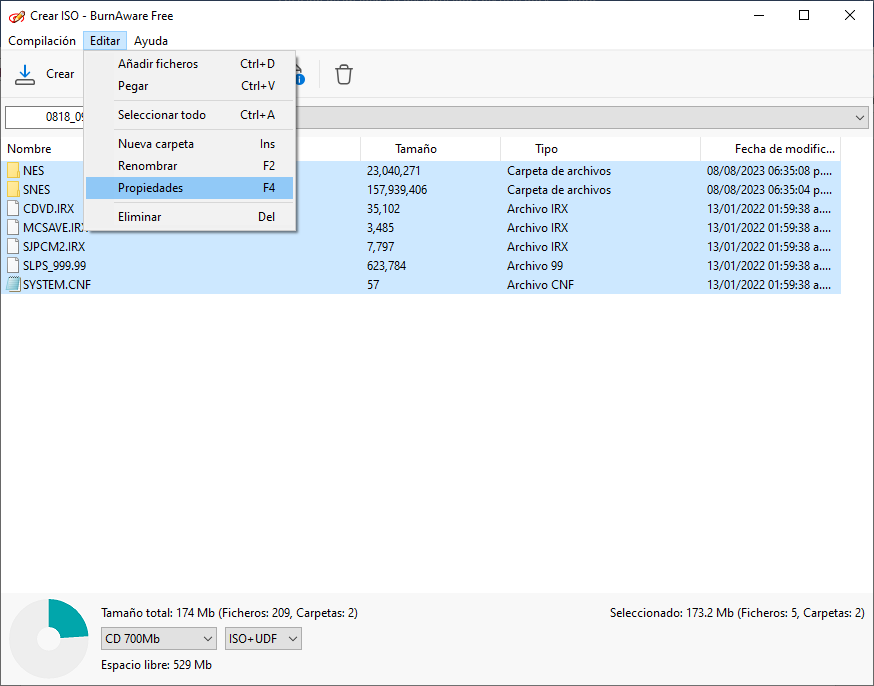
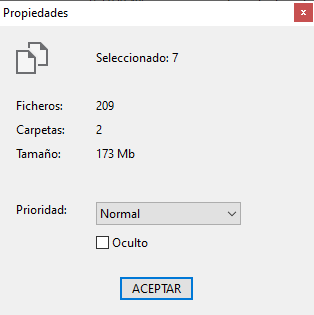
25.- We select all the files and click on the menu "Edit/Properties" and in priority we select "normal" and click accept.
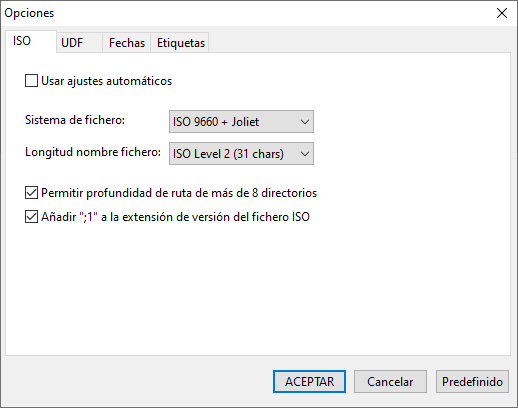
26.- We go to "Compilation/Options" and in the "ISO" section we uncheck "Use automatic settings" in "File system" we choose "ISO 9660 + Joliet" and leave the rest the same as seen in the image.
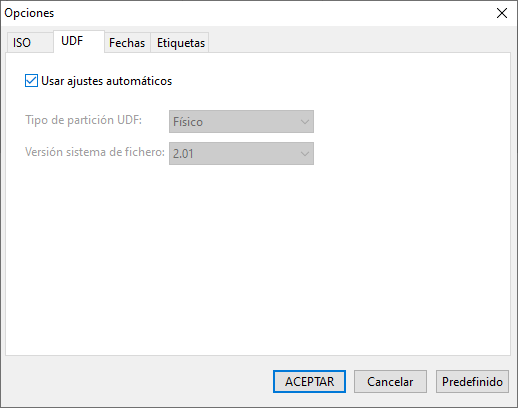
27.- In the "UDF" section, we leave the "Use automatic settings" box checked and click accept.
28.- We have already made the necessary configuration so that everything works well, now we only have to click on the "Create" button and select the path where we want to save it, we must put the name "SLPS_999.99.snesticle.iso" where "snesticle" can be vary to your liking. The "SYSTEM.CNF" file refers to the name "SLPS_999.99" which is why we must name it that way, but it can be changed by editing it with "notepad".

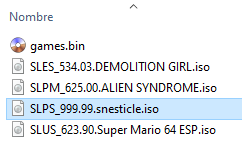
In my case I have created an iso of "CD" so I will save it inside the "CD" folder that OPL has created.

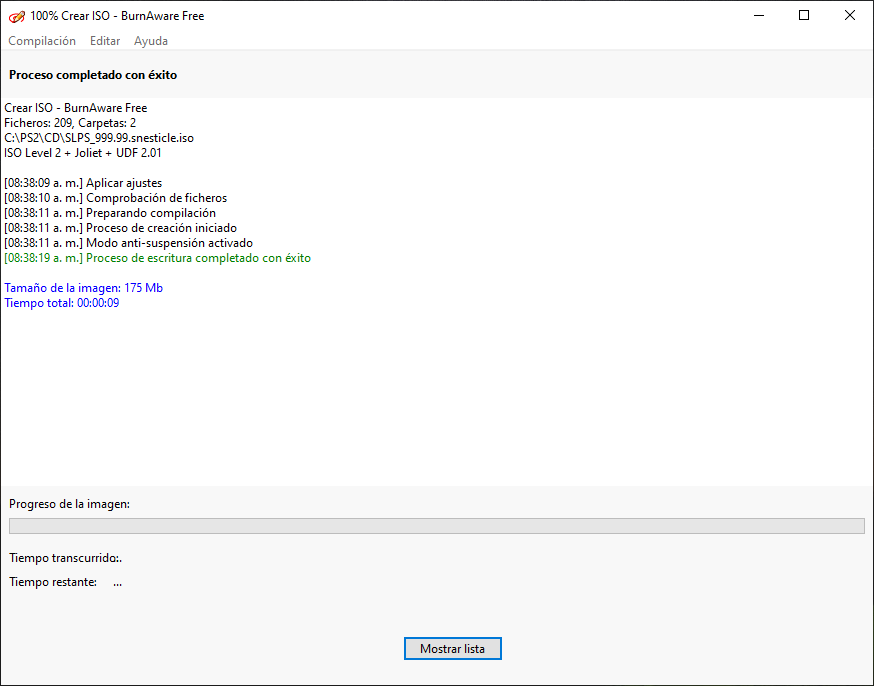
29.- The program will begin to create the image and when finished, a message will appear saying "Writing process completed successfully".
30.- We close the program and we already have the "Snesticle" emulator as an "ISO" image ready to be launched with the OPL.
In this tutorial we will learn how to download the emulator preparing the necessary files to run it and then we will create an iso image that will be used in Open PS2 Loader like any other PS2 game.
Downloading the emulator.
1.- To download the emulator we click on any of the following links:
2.-We click on "code/Download ZIP".
3.-The file with the name "SNESticle-main.zip" will be downloaded, which we will unzip and it will be as follows:
4.-Create a folder where we will place the necessary files for the emulator to work. In my case, I will name it "senesticle files".
5.- From the file that we unzip, we navigate in the following folders: "SNESticle main\SNESticle\Project\ps2". In this folder we are going to copy the files with the following names "CDVD.IRX", "MCSAVE.IRX", "SJPCM2.IRX", "SNESticle.elf" and we place them in the folder that we created in my case "senesticle files" .
6.- From the file that we unzip, we navigate in the following folders "SNESticle-main\SNESticle\Data\ps2\CD". In this folder we copy the file with the name "SYSTEM.CNF" and we place it in the folder that we created in my case "senesticle files".
7.- At the end, the folder that we created in my case with the name "senesticle files" should look as follows:
8.- We rename the file "SNESticle.elf" with the name "SLPS_999.99" and we remove the "elf" extension, now our folder will look as follows:
9.- Now we only have to place our respective folders where we have our games in the same folder that we had created in my case "senesticle files" and it should look like this:
Note: roms for snes games must have the extension "smc" or they will not be recognized by the emulator.
Installing the "BurnAware Free" program
10.- To create our image in "iso" format we are going to use a free program called "BurnAware Free", for this we click on the following link and download the free version:
11.-It will take us to the next page where the installer will be downloaded automatically after a few seconds.
12.-We run the installer and select our language in my case "Spanish" and click accept.
13.-The program installation wizard will appear and click on Next.
14.-After reading the license agreement we accept and click next.
15.- For this project we do not need to install "Winx DVD Ripper" so we uncheck it and click next.
16.- We leave the installation path that the same program recommends and click on next.
17.- If you do not want a start menu folder, uncheck it and press Next.
18.- If you do not want to create a shortcut on the desktop, uncheck the box in my case I will leave it activated and I will deactivate the option to create a shortcut in the quick start, click next.
19.- Now we only have to click on "install" and wait for the installation wizard to finish.
20.- When it has finished, we leave "run BurnAware Free" activated and click finish.
Creating the ISO image
21.- We will see the interface of the program as shown in the image:
22.-Click on "File/Create ISO".
23.-There are three ways to add our files from the "Edit/Add files" menu by clicking on "add files" inside the white box, or simply dragging them to the white box, in my case I will use the latter because it is the most fast.
24.- If you want to create an ISO for DVD, you can select this option at the bottom, in my case I will create a CD since I don't have many game roms, we select the "ISO+UDF" option.
25.- We select all the files and click on the menu "Edit/Properties" and in priority we select "normal" and click accept.
26.- We go to "Compilation/Options" and in the "ISO" section we uncheck "Use automatic settings" in "File system" we choose "ISO 9660 + Joliet" and leave the rest the same as seen in the image.
27.- In the "UDF" section, we leave the "Use automatic settings" box checked and click accept.
28.- We have already made the necessary configuration so that everything works well, now we only have to click on the "Create" button and select the path where we want to save it, we must put the name "SLPS_999.99.snesticle.iso" where "snesticle" can be vary to your liking. The "SYSTEM.CNF" file refers to the name "SLPS_999.99" which is why we must name it that way, but it can be changed by editing it with "notepad".
In my case I have created an iso of "CD" so I will save it inside the "CD" folder that OPL has created.
29.- The program will begin to create the image and when finished, a message will appear saying "Writing process completed successfully".
30.- We close the program and we already have the "Snesticle" emulator as an "ISO" image ready to be launched with the OPL.