marciolsf
Member
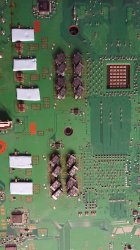
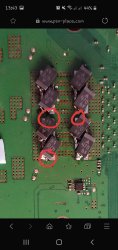
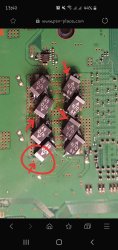
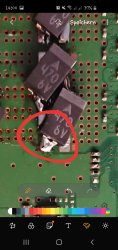
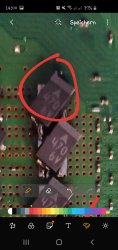
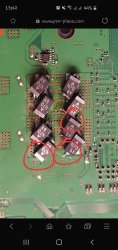
You're not entirely wrong! I did skip around, but I can say I watched faithfully all the way for the first hour! and then yes, I started skippingThe board he used in this video is a scrap board. The two main takeaways from his video are:
1) Use a preheater so that you can use hot air to remove the NEC TOKINs without burning them or scraping them off and potentially damaging a good board. Since it's a scrap board, he didn't care about knocking off the surrounding SMDs.
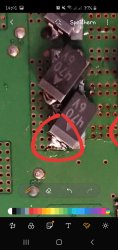
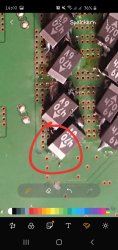
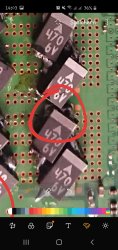
2) In order to solder the tantalum capacitors straight vs at an angle, you'll have to expose some solder mask.
That's what you get for skipping around.")
In my defense, it was 4:30am, I had to get up extra early for IRL work. I was wondering if it was scrap, so I went back to verify, but I didn't find the reference.I also love the idea of scratching, just because space is so tight, and installing them straight would definitely make for a cleaner work. I installed mine on an angle, and I'm pretty sure I did it correctly... I'm moving though, and I haven't had a chance to finish it, so the jury is still out. Once I'm all settled, I'm going to pull them out, scratch and try again.