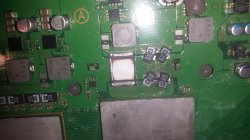
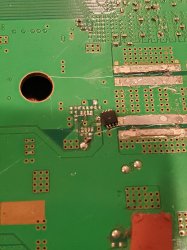
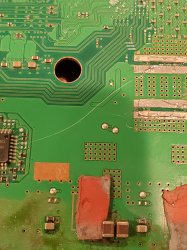
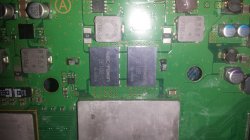
Seeing as I have screwed up even further, I thought I'd ask what I can do at this point! Also, I accidentally scratched off one of those black chips, fortunately I have it still, though it is missing one of the metal legs.
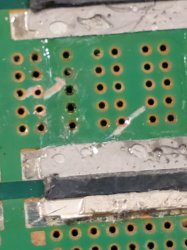
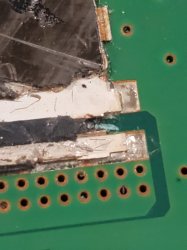
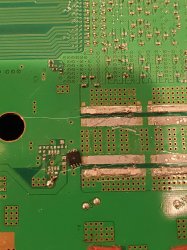
Well the board might be salvageable, if the scratches aren't too deep, the traces might still be active, but of the 2nd picture i see some deep ones which can be concerning, but the only way to test it out is to pair the Tantalums and fire it up.
If you scratch the PCB mask on the ground points, its nothing to worry about, as the board will operate normally, but if you scratch a trace interconnection then you have a 50/50 chance of it working.
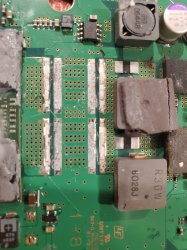
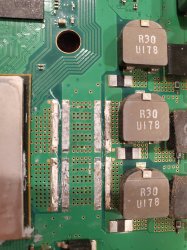
Personally i always use a pocket knife as a base and a screw driver to give some wacks to the NECs until i can remove them with a pair of pliers, leaving the PCB unscathed, so saves me time.
You can also remove them with a hot air station although lads who wanted to remove them with a station, reported they are a pain in the arse to remove it, not to mention you can damage other heat sensitive components while heating them for removal, but its all a personal preference.
Sent from my G8141 using Tapatalk


")